

An Article By Cecilia Brennan, Sydney Fowler & Sophia Spackman – New Step Podiatry.
Behind The Scenes: How We Sterilise Our Instruments
One of the most common questions we get asked is:
“Do you sterilise your own instruments?”
The short answer: Yes—we do, and we take it very seriously.
Why? Because single-use instruments are expensive, wasteful, and not great for the environment. We also don’t outsource sterilisation, because doing it ourselves means we can control the quality, the timing, and keep full records in-house.
By sterilising on site, we:
-Keep costs down for our patients
-Reduce landfill waste
-Maintain complete records for safety and compliance
-Keep our admin team busy behind the scenes (so if they’re not at the desk when you arrive, they’re probably elbow-deep in the sterilisation process!)
Here’s a peek behind the curtain at how we make sure every instrument is clean and safe before it reaches you for your podiatry general footcare.
Meet Our Sterilising Superstars
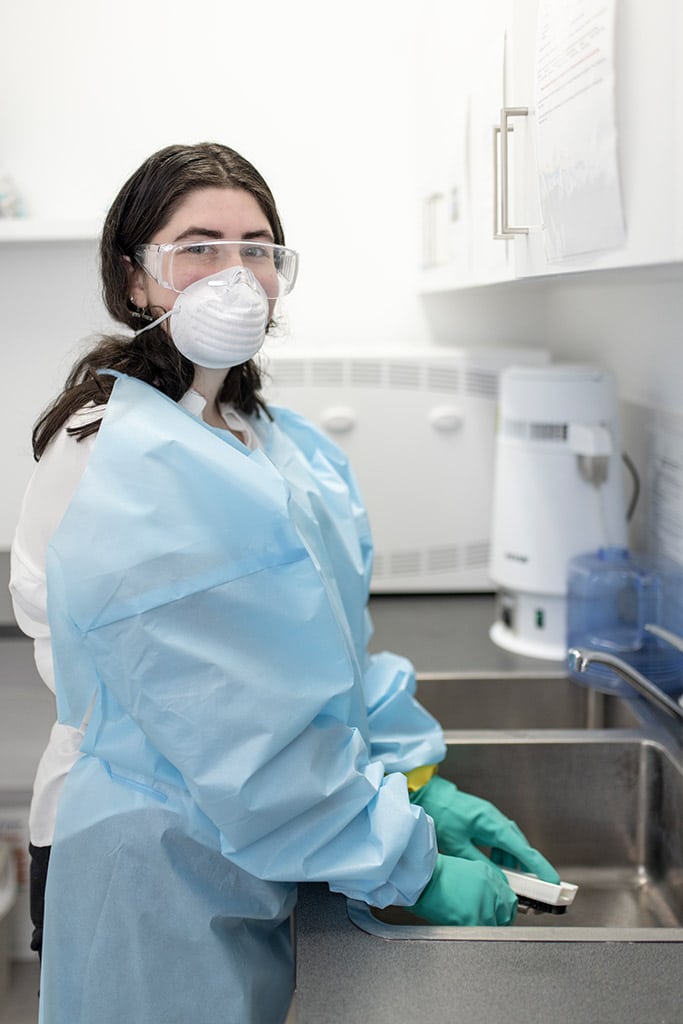
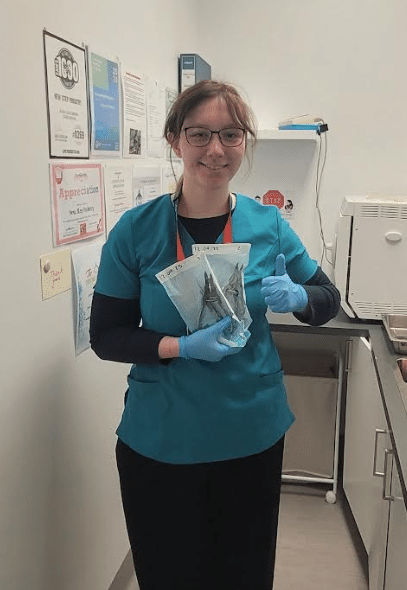


The ACT Health Infection Control Team, a wealth of knowledge on all things infection control, and they keep us accountable with annual inspections and sterilisation standard updates.
Here’s the process they require us to follow.
Step 1: Daily Safety Checks
Before we even touch an instrument, our autoclave and ultrasonic cleaner get their daily “check-up.”
- Vacuum Test: This makes sure our autoclave (that’s the high-tech steriliser) can create the perfect vacuum for killing germs. No vacuum = no sterilisation.
- Foil Test: We pop a piece of foil in the ultrasonic cleaner to check it’s vibrating properly. If it punches little holes in the foil, it’s working exactly as it should.
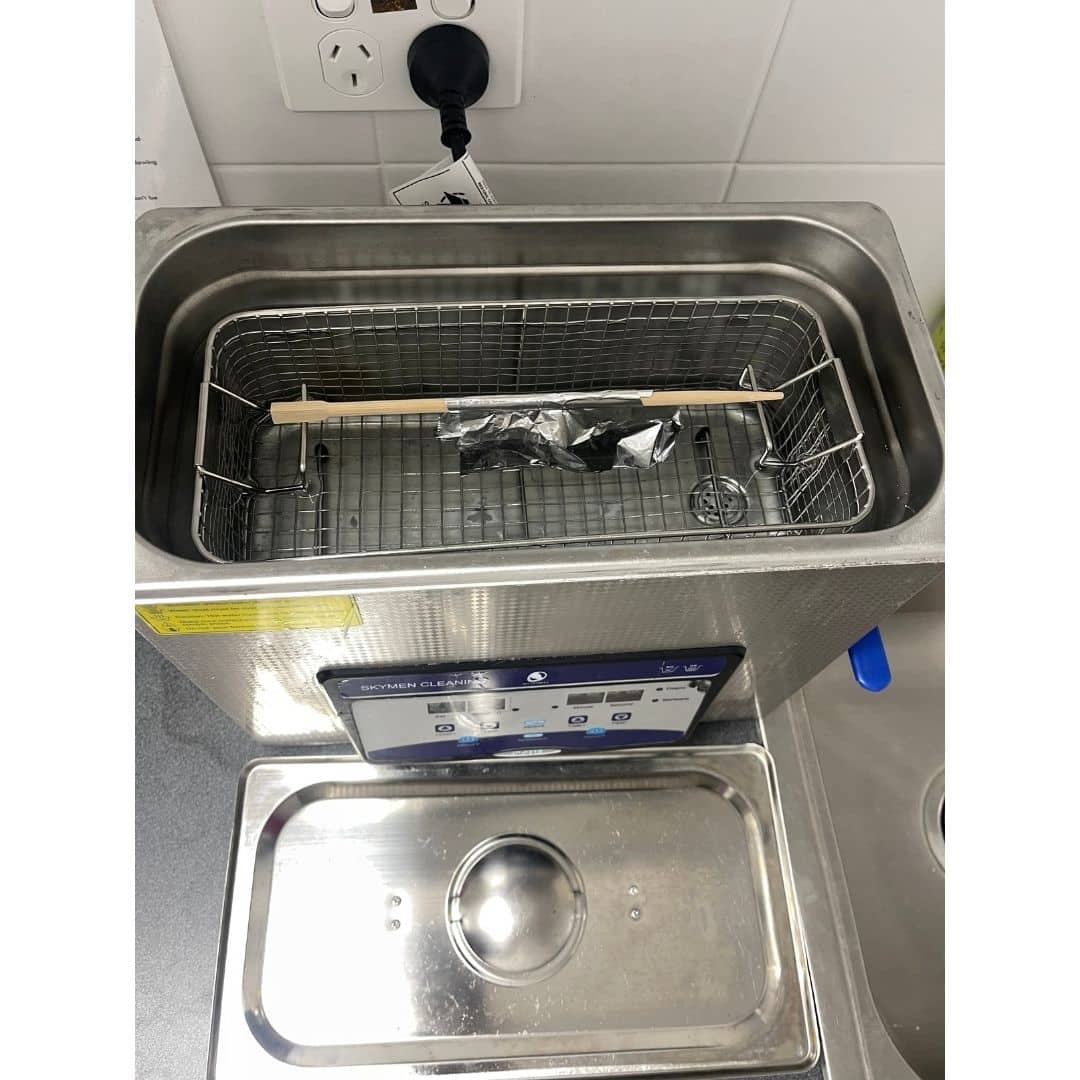
Think of these tests like warming up before a workout—it sets us up for success.
Step 2: Scrub, Scrub, Scrub
After podiatry appointments, instruments come straight to our cleaning station.
- They’re scrubbed with brushes, detergent, and a whole lot of elbow grease (with gloves, aprons, masks, and eye protection, of course).
- Anything sharp, like scalpel blades, are removed in the podiatry rooms prior to scrubbing.
- Once everything’s scrubbed, they move on to their spa treatment…
Step 3: The Ultrasonic “Spa”
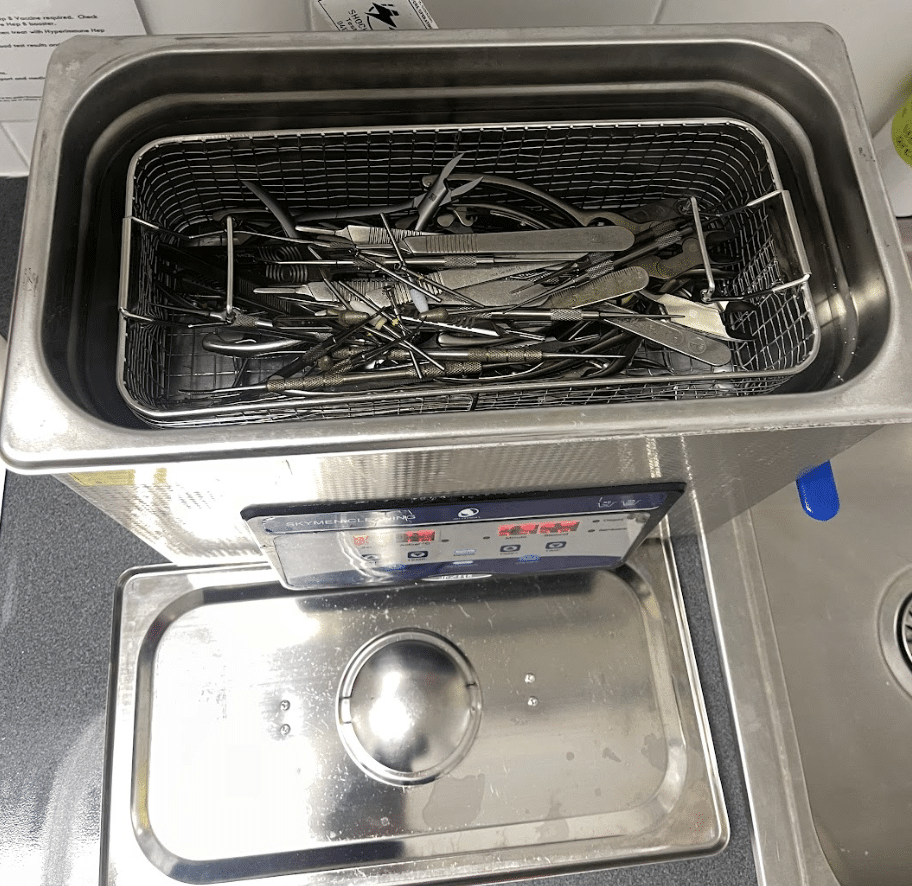
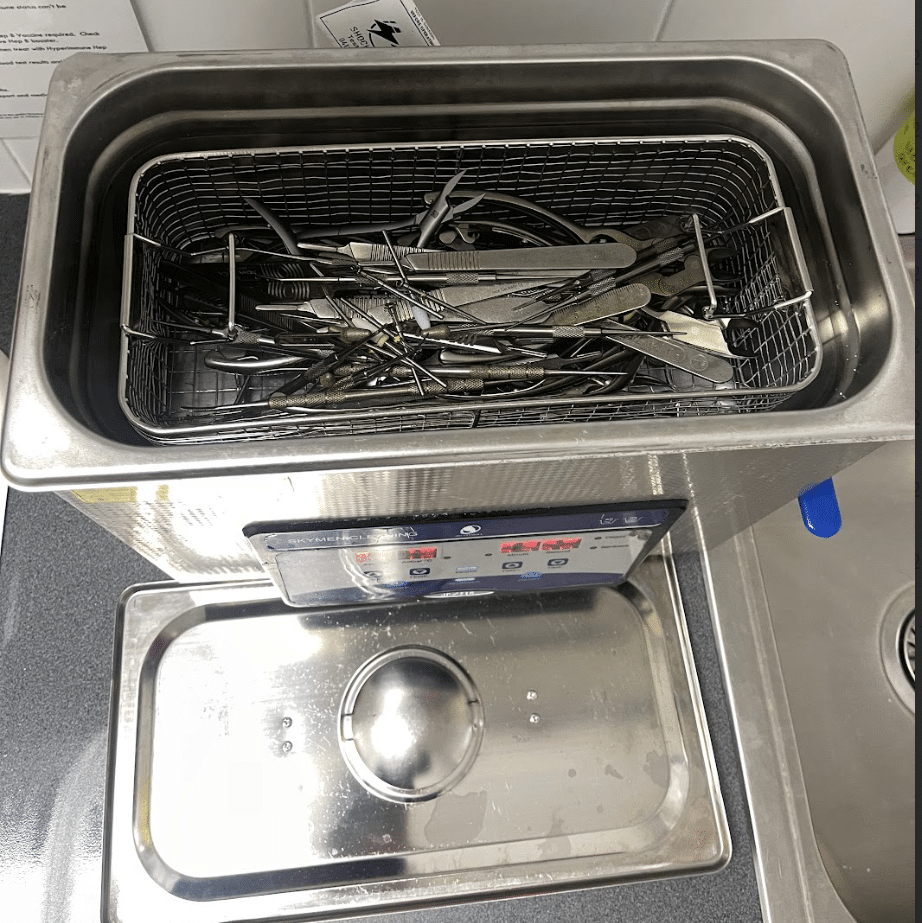
Imagine thousands of tiny bubbles buzzing away at high speed—that’s what happens inside our ultrasonic cleaner.
- Instruments get a 15-minute bubble bath that removes every trace of dirt and debris you can’t see.
- They’re then rinsed in clean water and set aside to dry.
It’s like giving our tools a deep clean facial before they’re wrapped up.
Step 4: Drying & Packaging
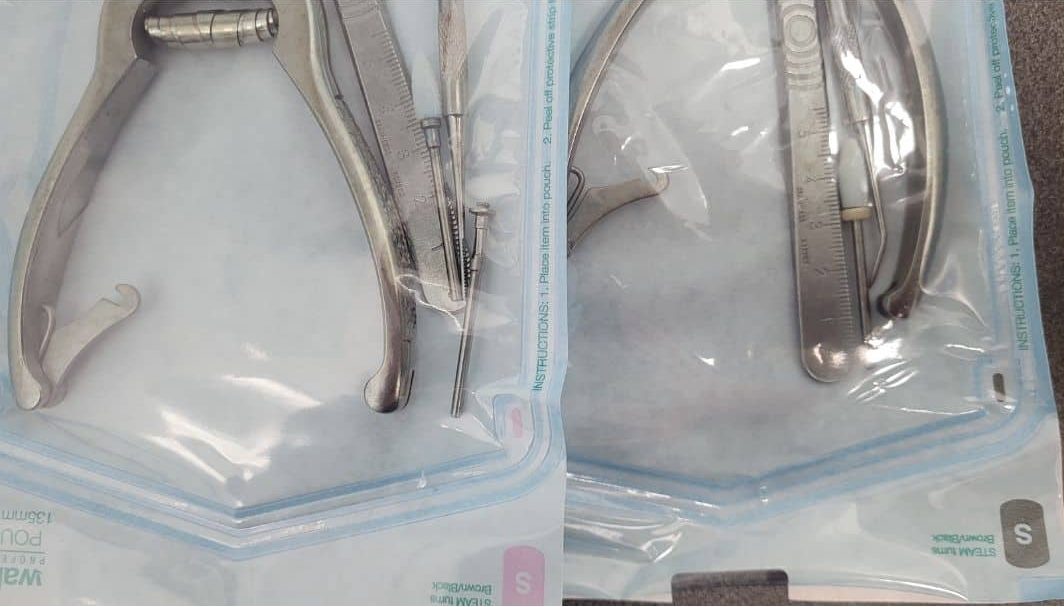
Once dry, each set of instruments is carefully packed into a sterilisation pouch (like a little medical envelope).
- We dry the tools on a lint free towel which is replaced after each cycle. Imagine if you used your kitchen tea towel once! Yes, it’s a lot of washing
- We date and label each pouch, so nothing is ever used past its safe period.
- Sharp edges face the sealed end, and scissors are packaged open to allow full sterilisation.
- Even the small things, like cotton balls and gauze, are sterilised in their own pouches. We use these for wound care and any surgical procedures where sterile items are essential.
- Everything is sealed tight—ready for the final step.

Step 5: The Autoclave Magic
Here’s where science takes over.
- The autoclave uses 134°C steam under pressure to kill every last microbe, well at least 99.99%.
- Each cycle is logged, printed, and checked against safety indicators (see below).
- If anything isn’t perfect—like a wet pack—it gets redone. No exceptions.
When the cycle’s complete, we’ve got fully sterilised instruments, safe and ready for your next visit.

Why It Matters
Sterilisation isn’t glamorous, but it’s one of the most important parts of what we do. It means:
- You can trust every instrument we use for podiatry general footcare safe and sterile.
- We’re doing our bit for the planet by avoiding single-use waste.
- Our team is hands-on in keeping our practice clean, organised, and patient-ready.
So next time you walk in and our admin team is missing from the front desk, don’t worry—they’re just in the back making sure everything is sparkling clean for you.
Because at New Step Podiatry, we believe safe feet start with clean instruments.
Our podiatrists are here to ensure those in Canberra have access to quality services that can help individuals get the treatment they deserve.
